The instructions in this FAQ apply to both the old and Digit user interfaces.
Not sure which interface you're using? Click here to work it out!
Instead of manually uploading your supplier's email invoice, or manually forwarding them as you receive them, you can set an auto-forwarding rule using the “from” email (in our example the supplier's email is ‘auto-invoice@squirrelstreet.com’) “to” your submission email address instead.
To find your submission email (which looks something like user.1234@sqrl.st), go to
Settings>Account Settings>Account Name and Submission Email (for the Digit user interface) or
if you're using the old interface, Settings > General, and it's under Change your Email Address PIN.
(Yes, you can change your submission email. Here's how to do that for the Digit user interface and for our old interface.)
How to auto-forward specific emails
This works where, if you know your vendor always emails you invoices from 'vendor@company.com', you can set this rule for them.
Here’s an example using Gmail (please refer to the instructions in your email server for auto-forwarding from other email providers):
1) Set up auto-forwarding from "See all settings" in Gmail by clicking on "Add a forwarding address", which is your Squirrel Street submission email address.

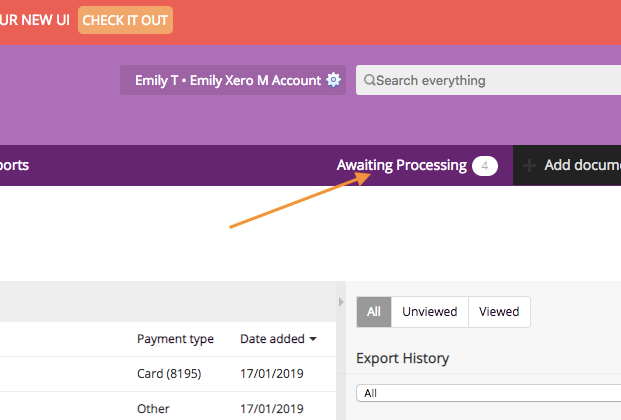
2) Upon creating the auto-forward, Gmail sends a verification email to your Squirrel Street account. After five minutes, you can login to Squirrel Street and view your receipts in order to access this email.
For the Digit interface


For the old interface

5) Then copy the confirmation code that appears in the email and paste it in the designated place in Google's menu.

6) Next, create a filter.


7) You'll be asked to select the forwarding address (this is your submission email address) and add any other conditions for forwarding. Then click on "Create filter" . And you're done! (Please make sure that forwarding is not disabled)

Naturally, if you have more than one vendor's emails to forward, you can create filters for each of them by clicking "creating a filter" each time.